15 Things Every Homeowner Should Learn to Fix

Robin - October 4, 2025
Share

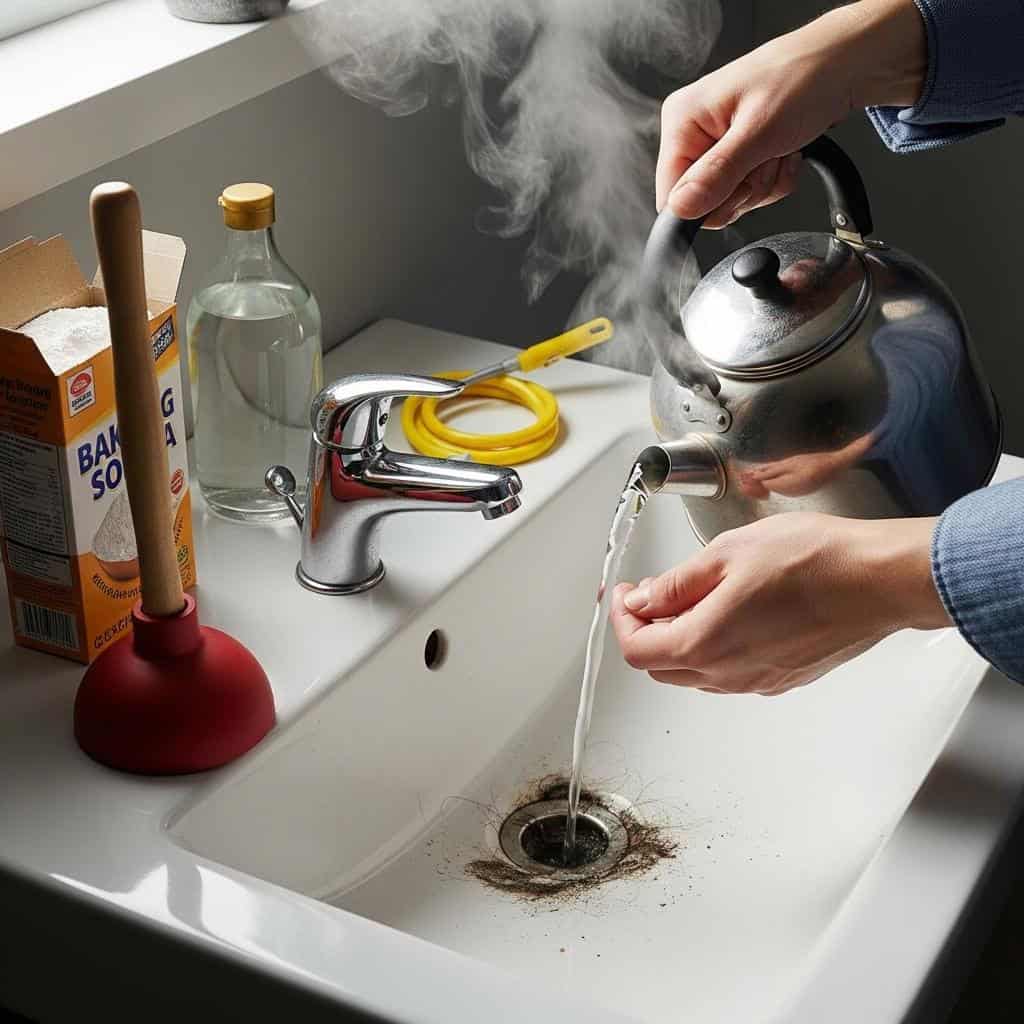
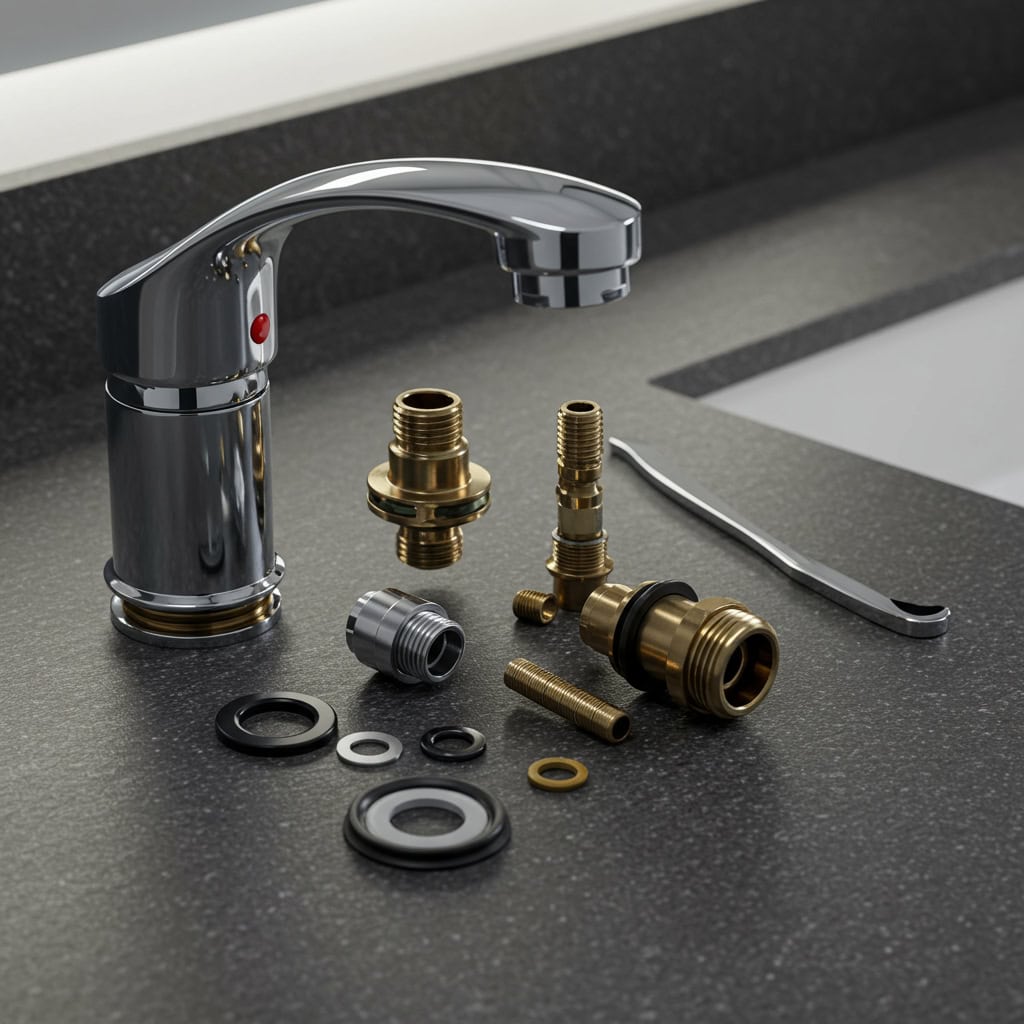
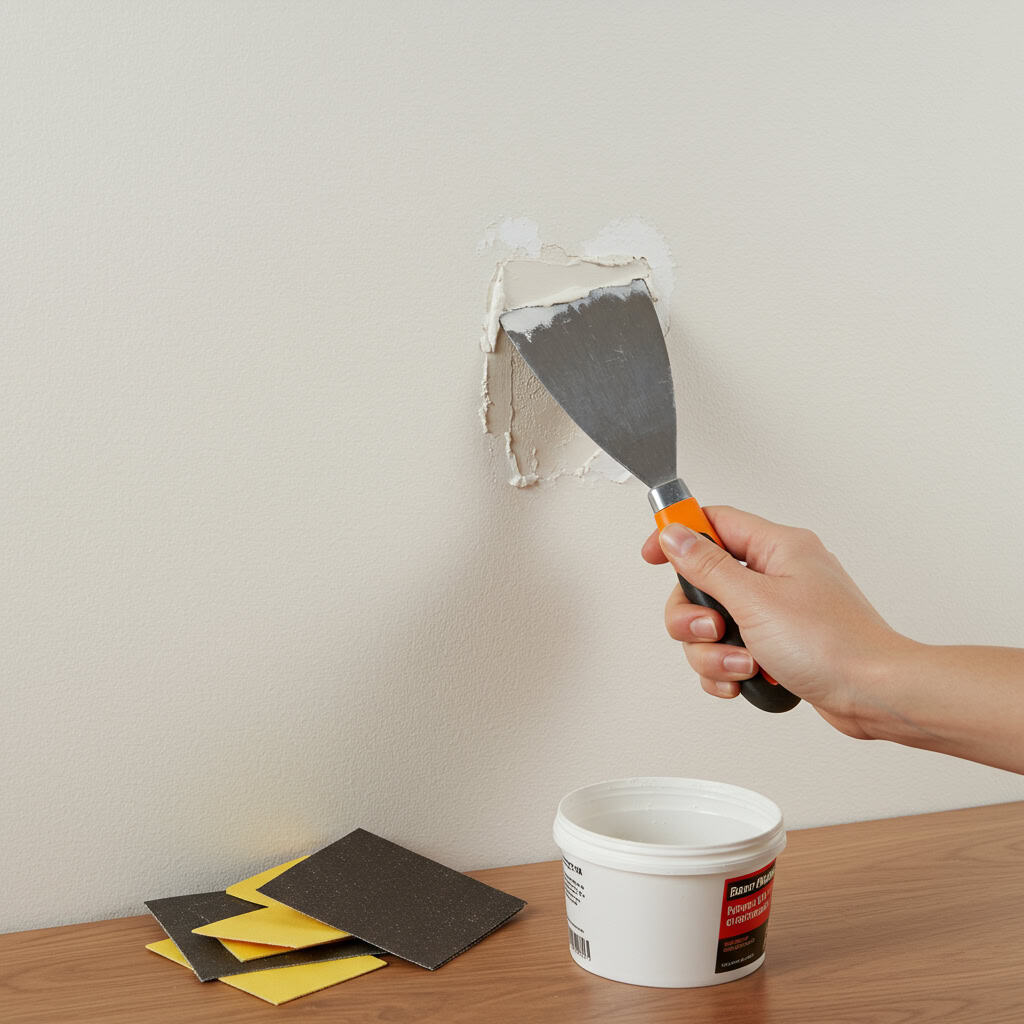
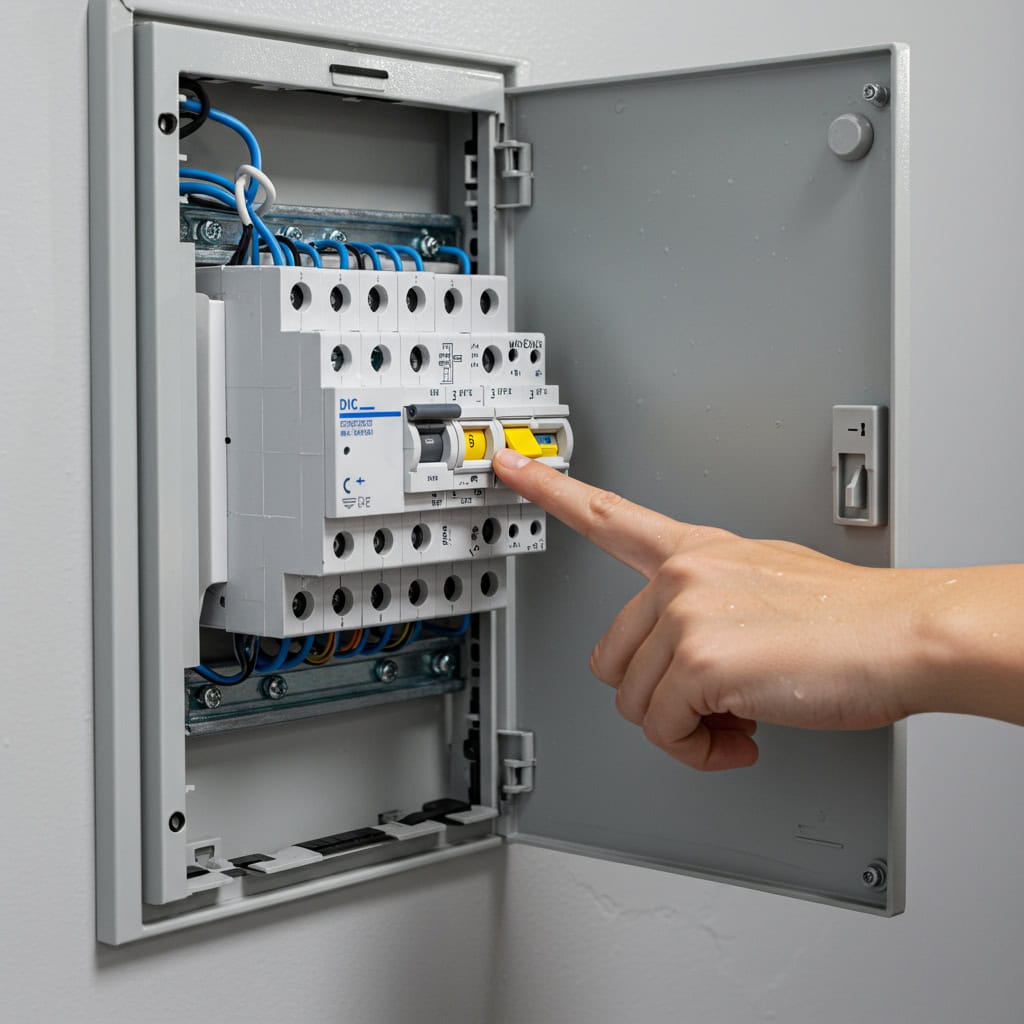
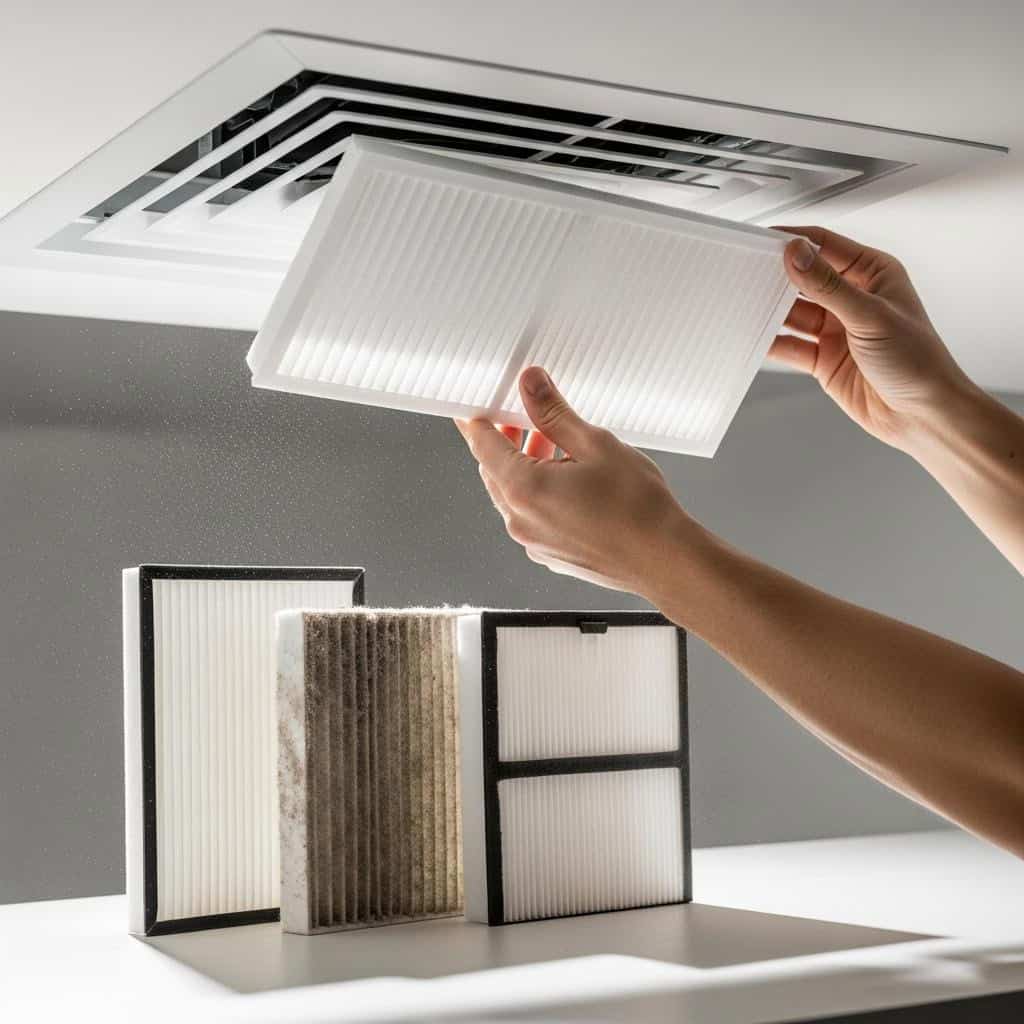
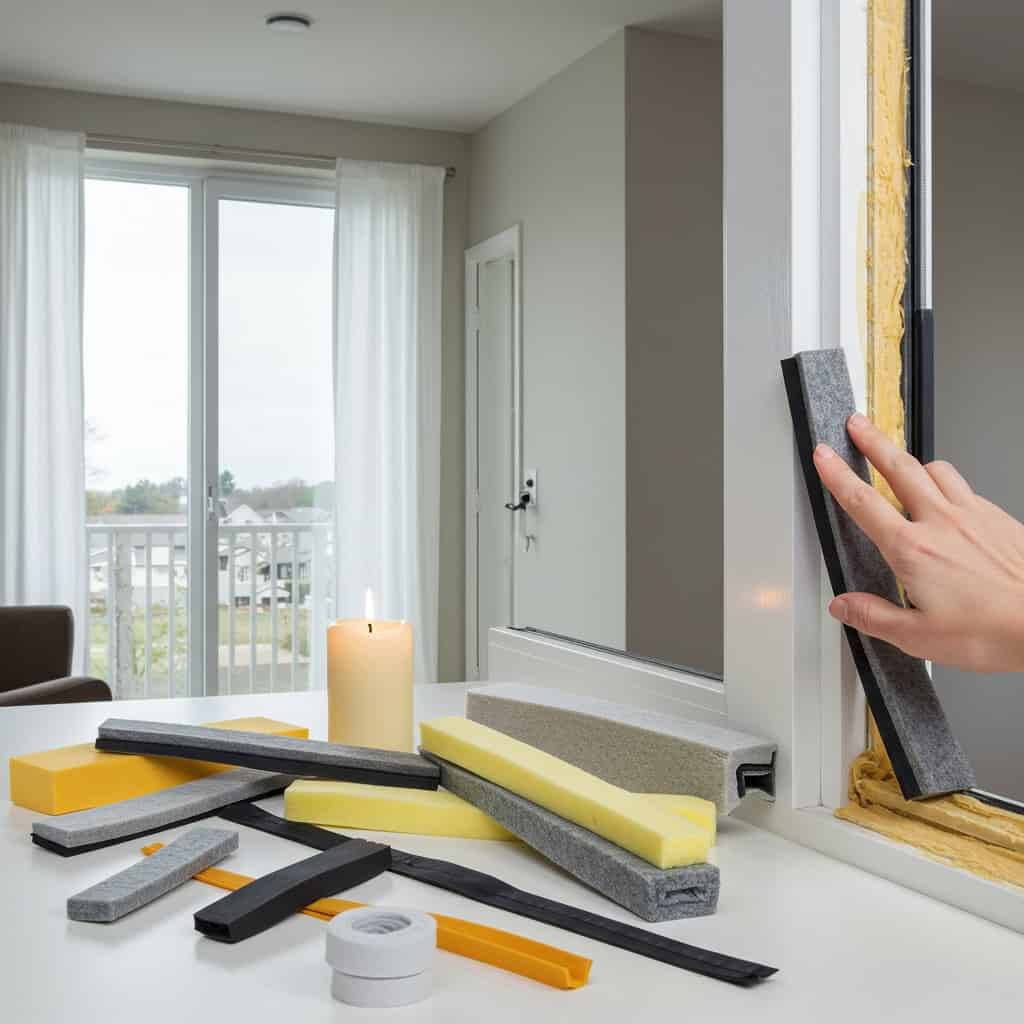
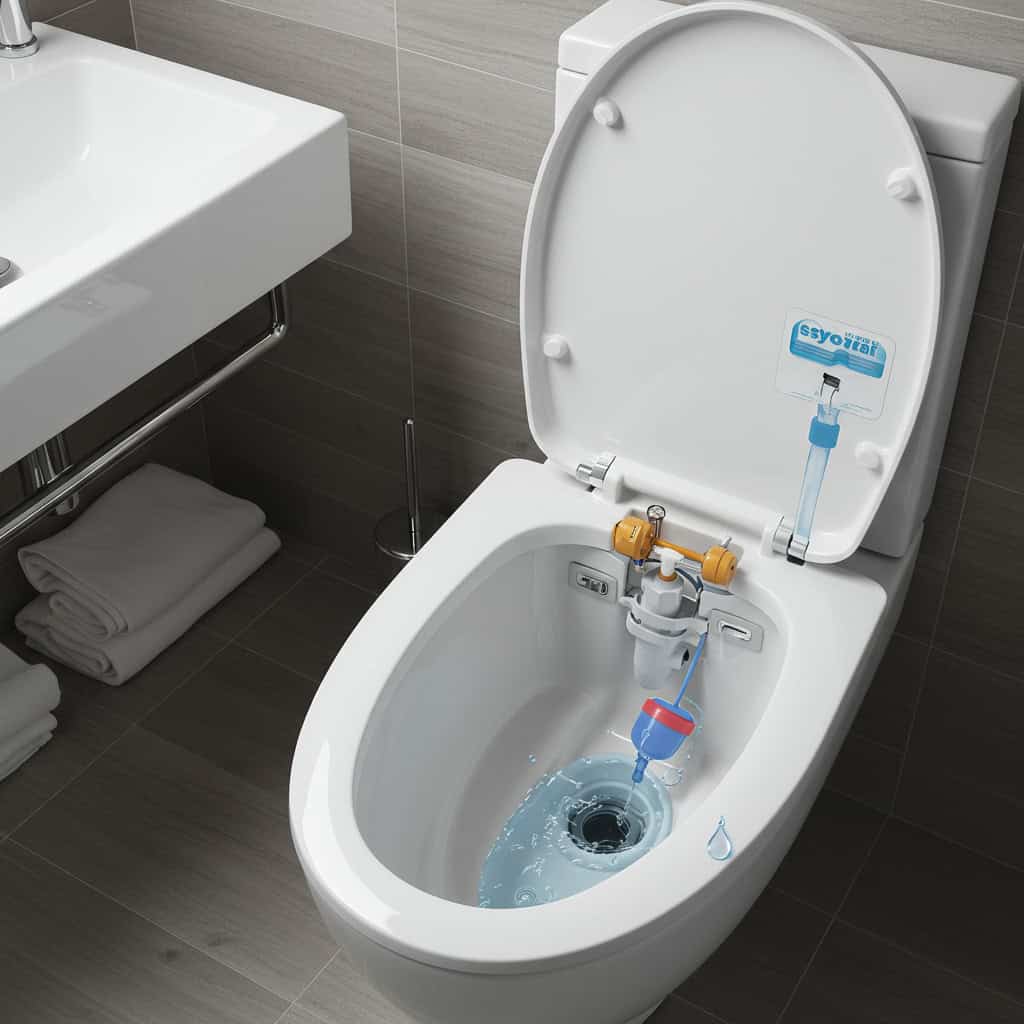
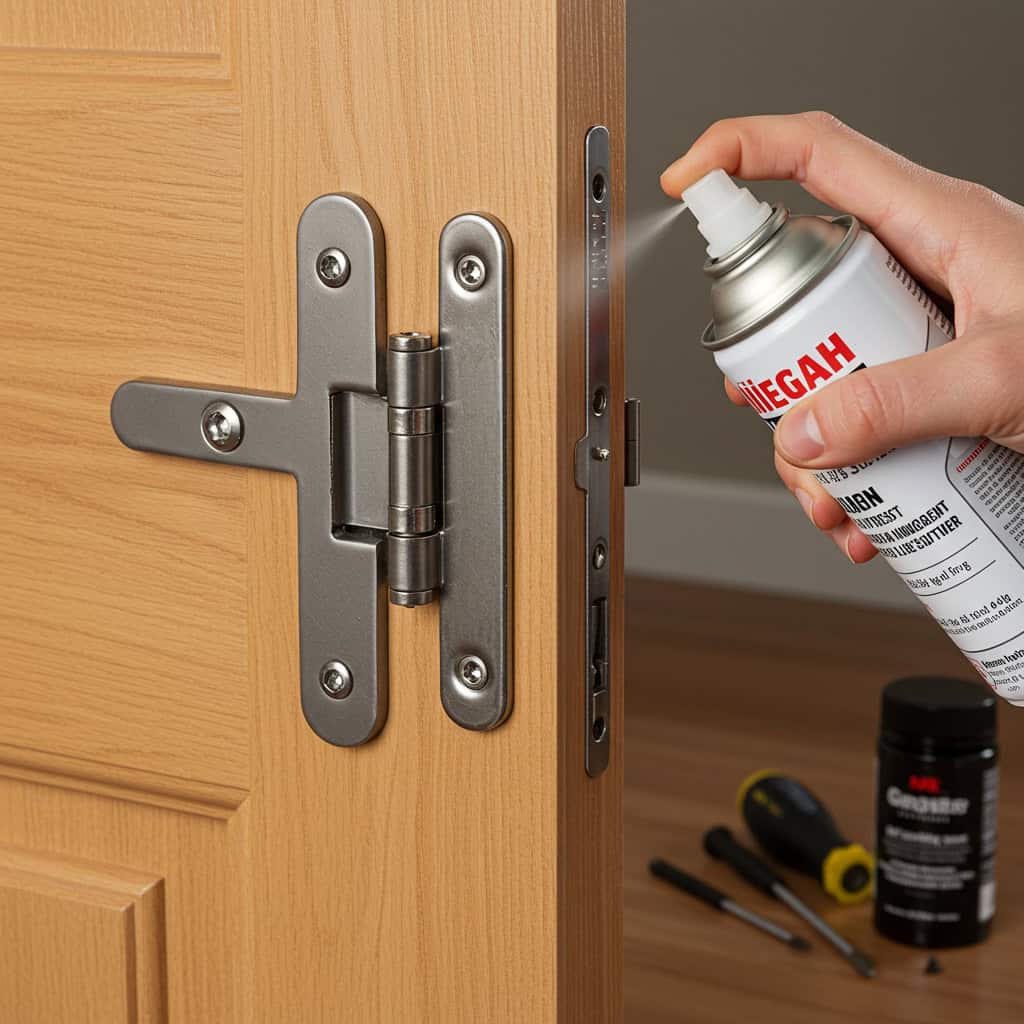
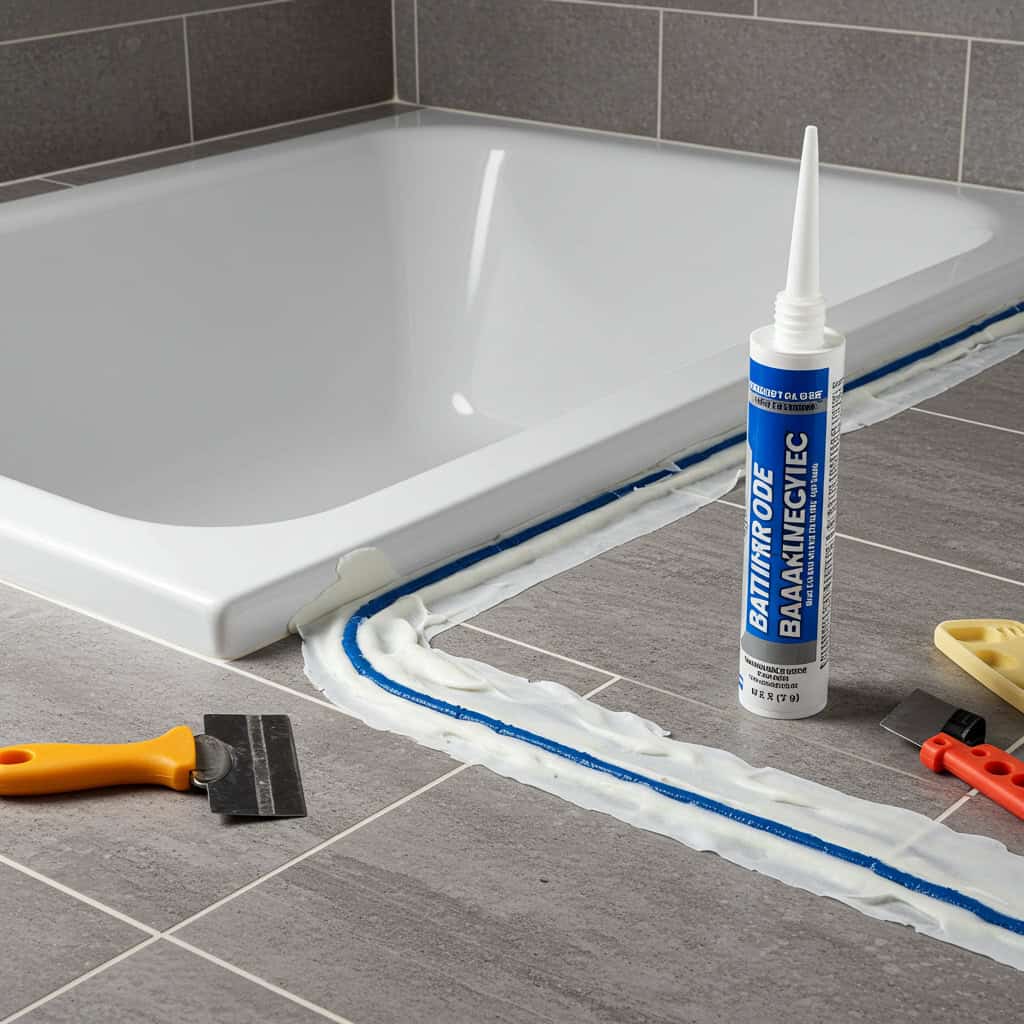
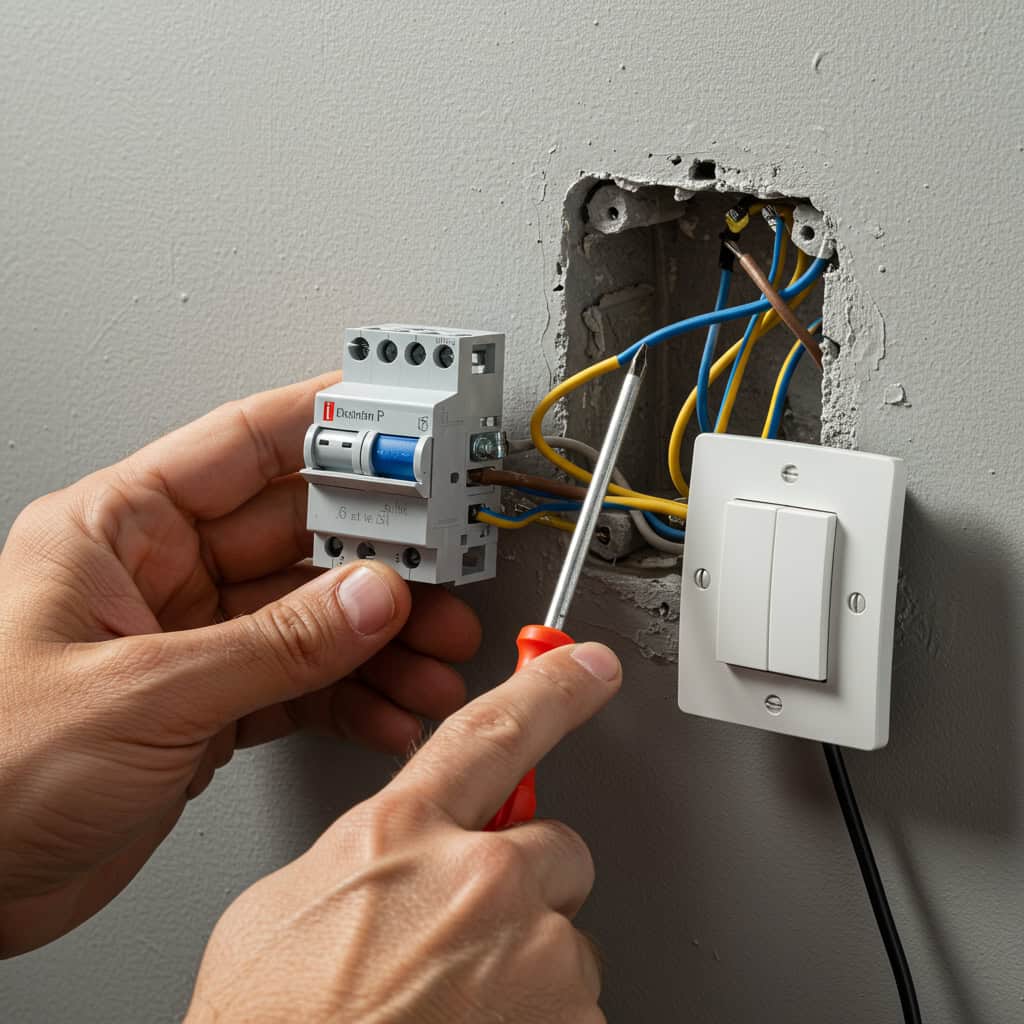
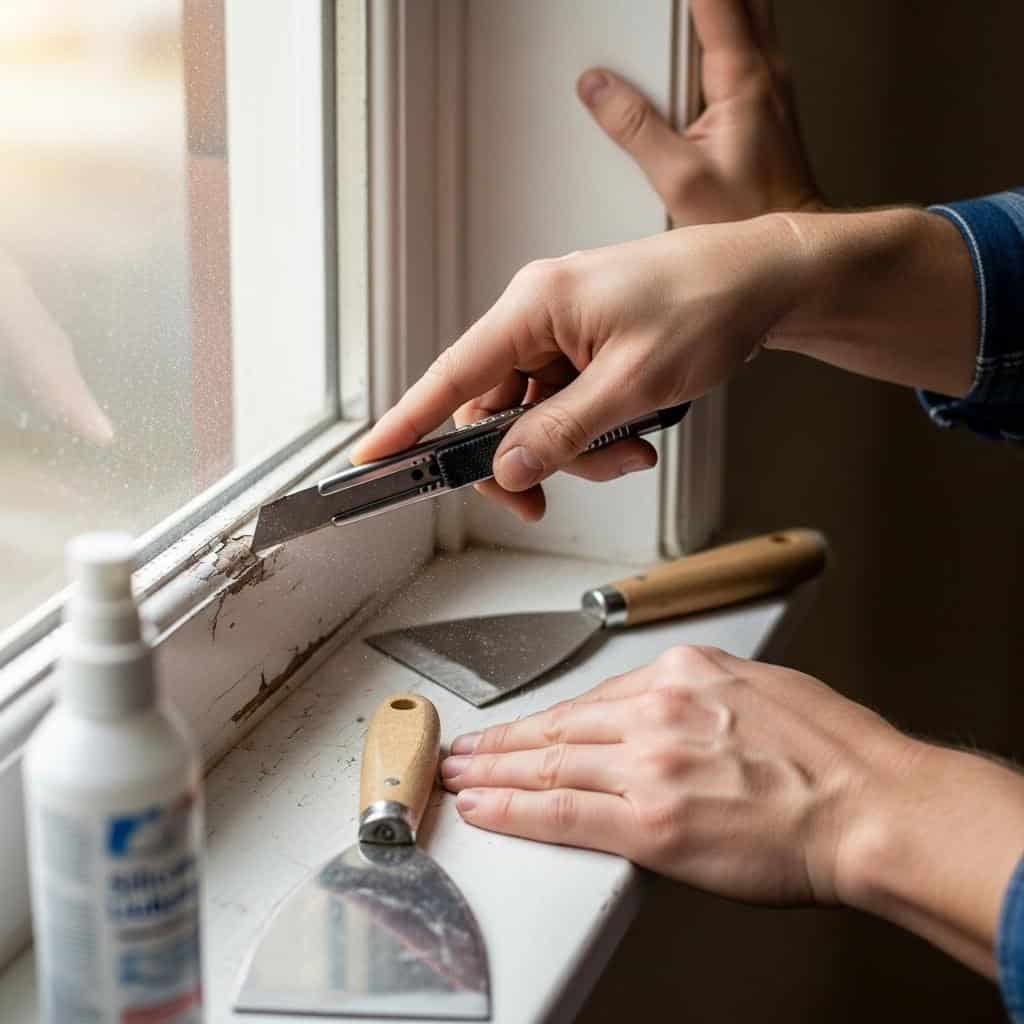
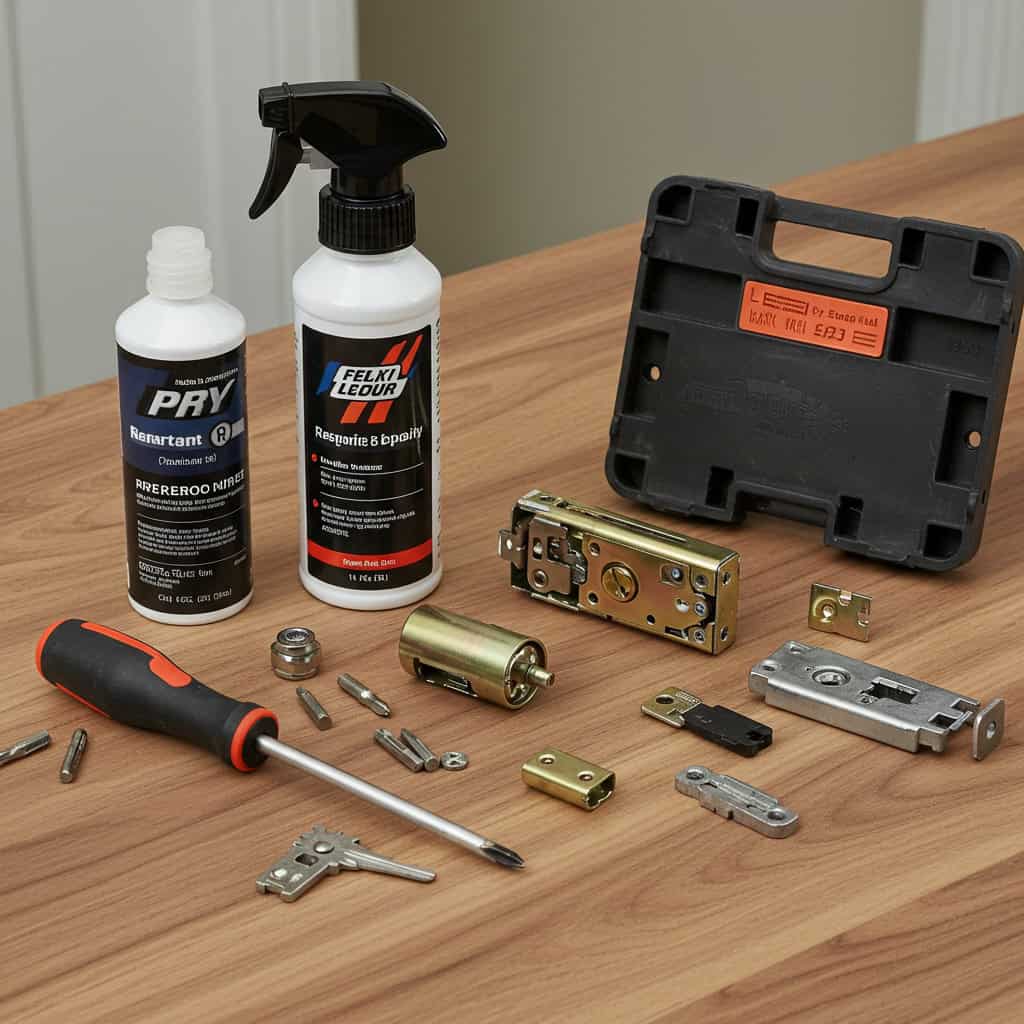
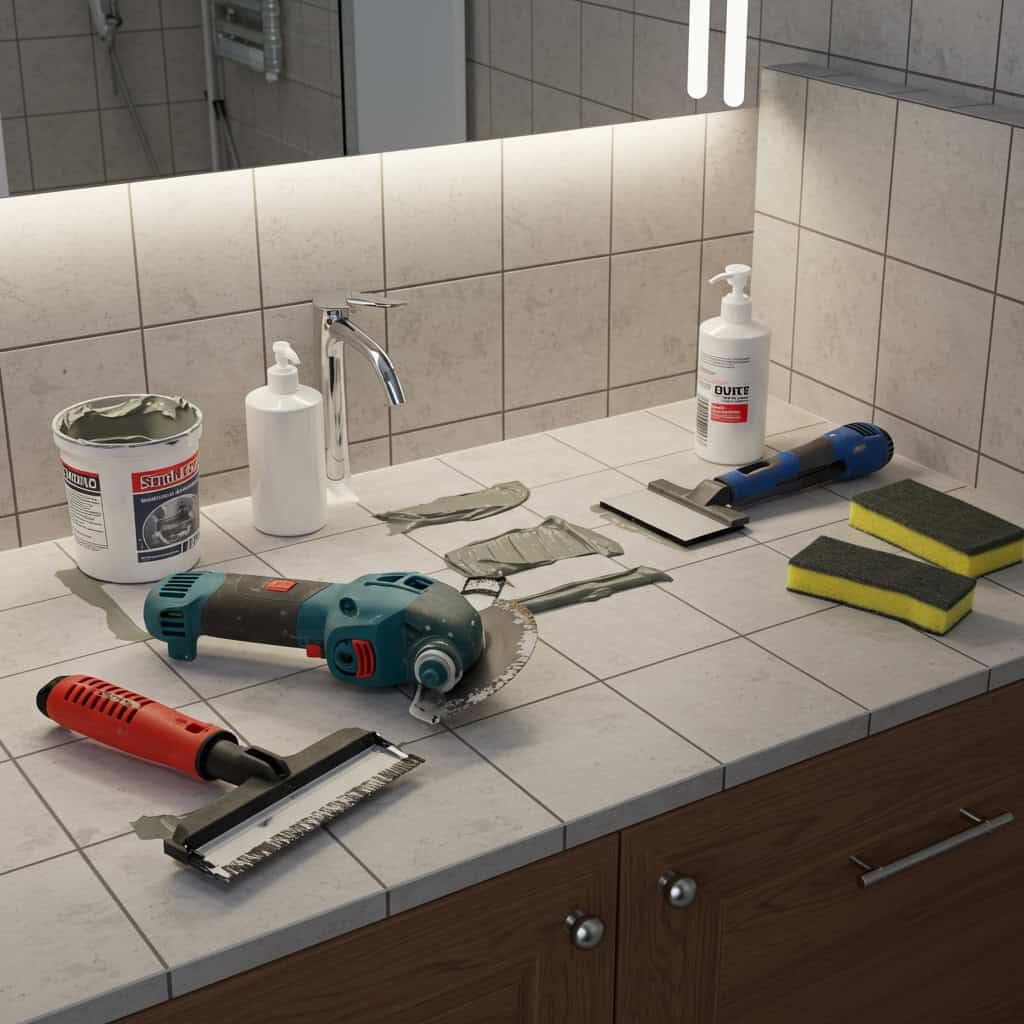
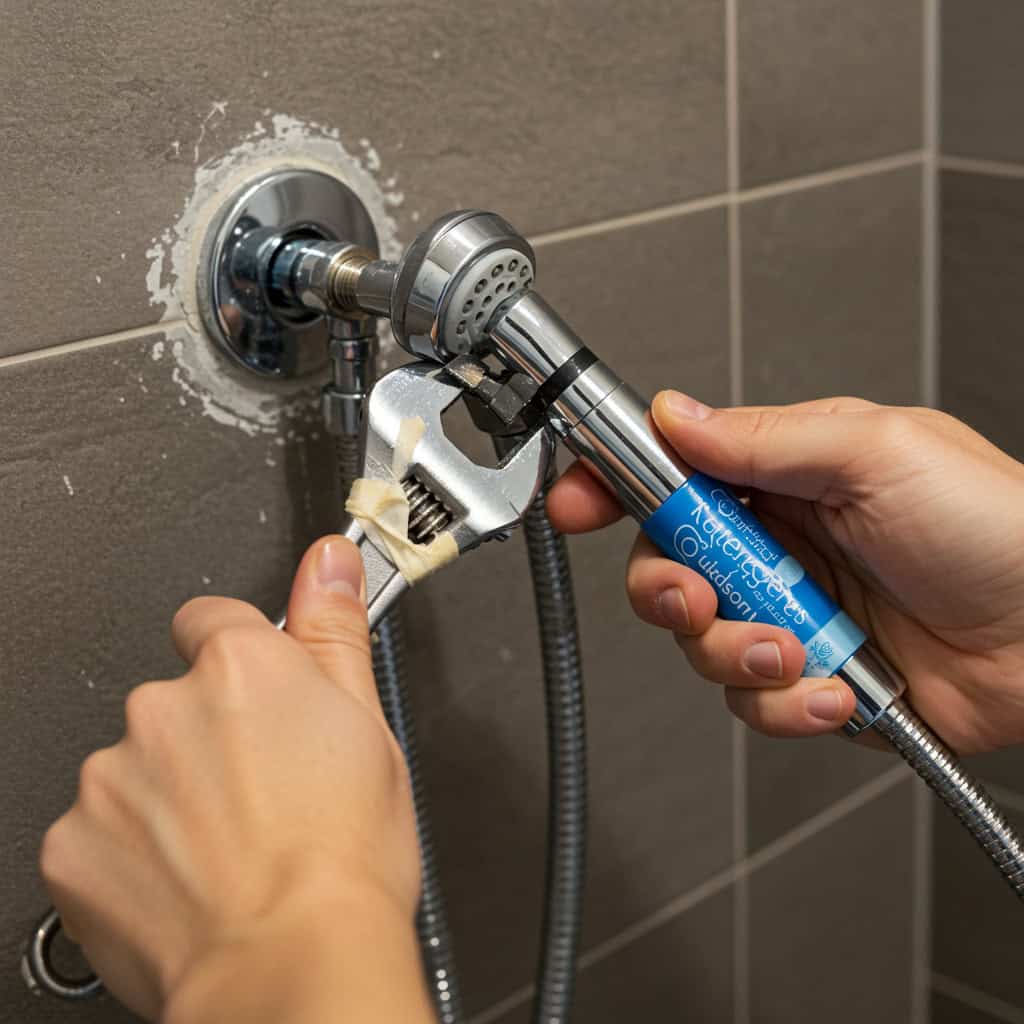
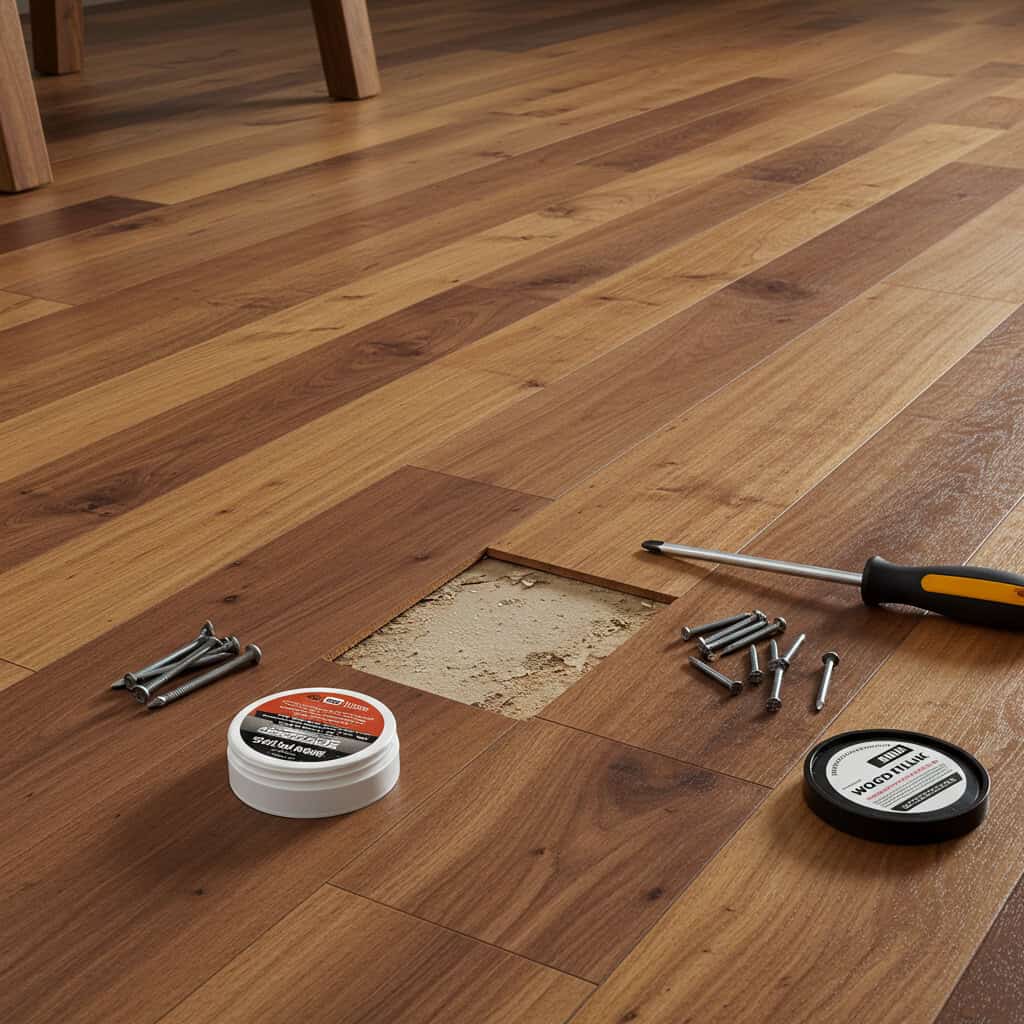
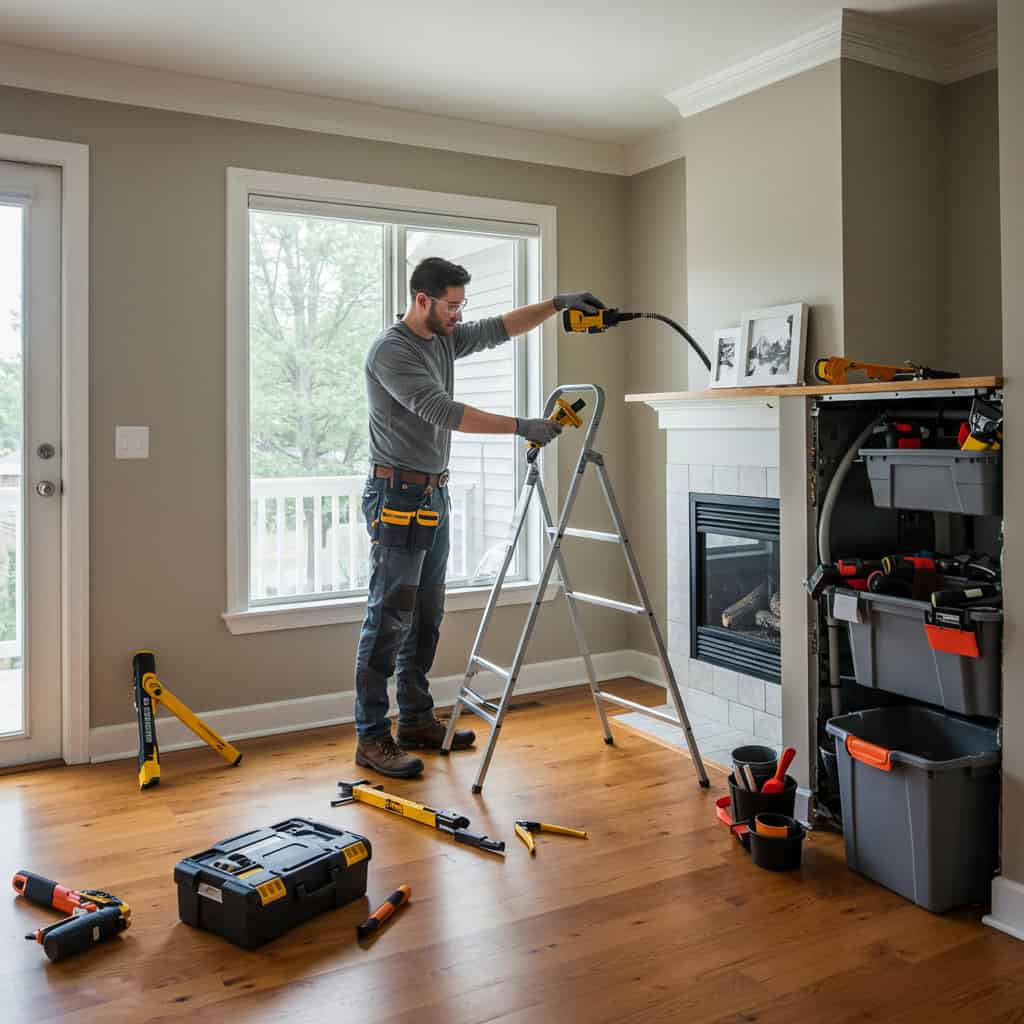
Homeownership comes with its share of unexpected challenges, but learning to tackle basic repairs can make a world of difference. Developing these skills not only saves money on professional services but also helps prevent minor issues from becoming major disasters. More importantly, being able to fix common household problems boosts self-confidence and provides peace of mind. For more on why DIY home maintenance matters, visit Family Handyman.

1. Unclogging Drains

1. Unclogging Drains
Common causes of clogged drains and effective chemical-free solutions for clearing household blockages. | Generated by Google Gemini

Clogged sinks and shower drains are often caused by hair, soap scum, and debris. Start with chemical-free fixes like pouring boiling water or a baking soda and vinegar mix down the drain. If that doesn’t work, use a plunger or a drain snake to dislodge tougher blockages. Persistent slow drains or recurring clogs may signal more serious plumbing issues, such as pipe damage or deeper obstructions, which may require professional help. For step-by-step instructions and more tips, visit The Spruce.

2. Fixing a Leaky Faucet

2. Fixing a Leaky Faucet
A hand tightens a stubborn, leaky faucet with a wrench, mid-repair, as water droplets glisten below. | Generated by Google Gemini

A leaky faucet often results from worn washers, O-rings, or seals. Start by turning off the water supply, then disassemble the faucet to identify the faulty part. Compression faucets typically need new washers, while cartridge and ball-type faucets may require cartridge replacement. Carefully reassemble the faucet, ensuring all parts are secure. DIY repairs can save substantial money compared to hiring a plumber and prevent water waste. For detailed repair guides and faucet type comparisons, visit Family Handyman.

3. Patching Small Holes in Walls

3. Patching Small Holes in Walls
A hand smooths fresh spackle over a square drywall patch, skillfully blending it into the surrounding wall for repair. | Generated by Google Gemini

Small holes from nails, screws, or minor dings can easily be repaired with spackle or joint compound. Start by cleaning the area, then apply spackle with a putty knife, smoothing it flush with the wall. Once dry, sand lightly for a seamless finish before repainting. For slightly larger holes, use a patch kit. Remember, patching large holes requires additional support and different techniques. Having the right tools—spackle, putty knife, sandpaper—is essential for a professional result. For a full guide, visit Bob Vila.

4. Resetting a Tripped Circuit Breaker

4. Resetting a Tripped Circuit Breaker
A neatly organized circuit breaker panel with labeled breaker switches highlights the importance of electrical safety in the home. | Generated by Google Gemini

When the power goes out in part of your home, a tripped circuit breaker is often the cause. Locate your breaker panel and identify the switch in the “off” position or midway. Flip it fully off, then back on to reset. Always ensure your hands are dry and the area is safe. Breakers trip due to overloads or faults—avoid plugging too many devices into one circuit. Unlike fuses, breakers can be reset rather than replaced. For more safety tips and comparisons, visit the Electrical Safety Foundation.

5. Replacing Air Filters

5. Replacing Air Filters
Regularly replacing HVAC air filters boosts efficiency, lowers energy costs, and enhances indoor air quality. | Generated by Google Gemini

Replacing HVAC air filters every 1-3 months is essential for optimal system efficiency and healthy indoor air. Choose the right filter type—fiberglass, pleated, or HEPA—based on your needs and system compatibility. Clogged or dirty filters force HVAC systems to work harder, increasing energy costs and reducing air quality by circulating dust and allergens. Neglecting filter changes can lead to costly repairs and poor health outcomes. Regular maintenance extends system lifespan and improves comfort. For more on filter types and recommendations, review the EPA guidance.

6. Weatherstripping Doors and Windows

6. Weatherstripping Doors and Windows
A homeowner carefully applies weatherstripping to a drafty window, sealing gaps to boost comfort and energy efficiency. | Generated by Google Gemini

Drafty doors and windows can significantly increase heating and cooling costs. Identify drafts by feeling for air leaks or using a lit candle near frames. Choose the right weatherstripping—foam is easy to install and affordable, felt is economical for low-traffic areas, and rubber offers durability and better insulation. Clean surfaces before applying, and measure for a snug fit to seal gaps effectively. Proper weatherstripping improves comfort and energy efficiency, reducing your utility bills year-round. For detailed installation tips and material comparisons, visit Energy.gov.

7. Stopping a Running Toilet

7. Stopping a Running Toilet
An open toilet tank reveals a worn flapper being replaced during a hands-on bathroom repair project. | Generated by Google Gemini

A constantly running toilet wastes water and increases bills. Common causes include a faulty flapper, misaligned float, or defective fill valve. Start by removing the tank lid and checking if the flapper seals properly. Adjust or replace the float if water rises too high, and inspect the fill valve for leaks or malfunctions. Replacing these parts is usually simple and inexpensive. Addressing a running toilet promptly prevents wasted water and potential damage. For step-by-step repair instructions and troubleshooting tips, visit Consumer Reports.

8. Fixing Squeaky Doors

8. Fixing Squeaky Doors
A hand applies lubricant spray to a door hinge, stopping the squeak and restoring smooth, silent movement. | Generated by Google Gemini

Squeaky doors are usually caused by friction or dirt in the hinges. Apply a lubricant such as WD-40, silicone spray, or even household oil directly to the hinge pins, then open and close the door to distribute it. Tighten any loose hinge screws with a screwdriver. If squeaking persists or hinges are bent, consider replacing the hardware. Graphite powder is another option for long-lasting lubrication. Regular maintenance prevents future squeaks and keeps doors operating smoothly. For a step-by-step guide and more solutions, visit Home Depot’s guide.

9. Caulking Bathtubs and Sinks

9. Caulking Bathtubs and Sinks
A steady hand applies a fresh bead of sealant around the bathtub with a caulking gun, ensuring a watertight finish. | Generated by Google Gemini

Proper caulking prevents water damage and mold growth around bathtubs and sinks. Begin by removing old, cracked caulk with a scraper or utility knife. Clean and dry the area thoroughly. Apply a steady bead of bathroom-grade silicone or acrylic caulk along the seam, then smooth it with a wet finger or caulk tool for a clean, watertight seal. Choose mold-resistant caulk for damp areas to extend durability and cleanliness. Regular inspection and timely re-caulking keep moisture out and protect your home. For detailed instructions, visit This Old House.

10. Replacing Light Switches and Outlets

10. Replacing Light Switches and Outlets
A pair of hands uses a voltage tester while replacing an old outlet and rewiring a nearby light switch. | Generated by Google Gemini

Swapping out standard light switches or outlets is a straightforward task when safety comes first. Always turn off the power at the breaker and double-check with a voltage tester before unscrewing the old device. Modern wiring typically uses color-coded wires, making installation easier, while older homes may require extra attention to wiring configurations. Carefully connect wires to the new switch or outlet and securely fasten everything before restoring power. Upgrading to newer models can improve safety and convenience. For a detailed, step-by-step guide, visit Wirecutter.

11. Repairing a Stuck Window

11. Repairing a Stuck Window
Troubleshooting stuck windows: remove paint seals, clean tracks, lubricate, and address warped frames. | Generated by Google Gemini

Stuck windows are often caused by dried paint, dirt buildup, or warped frames. Begin by gently scoring any paint sealing the sash with a utility knife. Use a putty knife to loosen stubborn edges and try opening the window carefully. Apply a silicone-based lubricant to the tracks for smoother movement. Clean out accumulated dust or debris from the tracks. If the frame is warped or the window remains immovable despite these efforts, it may require professional repair or replacement. For additional troubleshooting tips, refer to Bob Vila’s advice.

12. Fixing or Replacing Door Locks

12. Fixing or Replacing Door Locks
A close-up view of a sturdy new door lock being installed, highlighting the importance of upgrading home security. | Generated by Google Gemini

Door locks can become loose, sticky, or misaligned over time. Basic repairs include tightening screws, lubricating keyholes, and realigning strike plates. Rekeying allows you to change keys without replacing the entire lock—kits are available for most brands. If locks are severely damaged or unreliable, replacement is the safest option. Deadbolts offer greater security than standard knob locks and are recommended for exterior doors. Always assess the lock’s integrity to ensure your home remains secure. For more detailed repair and replacement tips, visit Consumer Reports.

13. Regrouting Tile

13. Regrouting Tile
A set of grouting tools rests beside freshly applied tile grout on a sparkling clean bathroom tile floor. | Generated by Google Gemini

Regrouting tile restores both appearance and function in kitchens and bathrooms. Start by removing old grout with a grout saw or oscillating tool, taking care not to damage the tiles. Vacuum away debris, then apply new grout with a rubber float, pressing it firmly into the gaps. Wipe away excess with a damp sponge and let it cure as directed. Seal the grout once dry to protect against moisture and stains. Fresh grout not only brightens your space but also prevents water intrusion and tile damage. For a complete walkthrough, visit HGTV.

14. Replacing a Showerhead

14. Replacing a Showerhead
A shiny new showerhead is being installed using plumber’s tape, highlighting a fresh upgrade to the bathroom fixture. | Generated by Google Gemini

Upgrading your showerhead is a quick way to improve water pressure and efficiency. Remove the old showerhead with an adjustable wrench, turning counterclockwise. Clean the threads, then wrap them with plumber’s tape to ensure a tight, leak-free seal. Screw on the new showerhead by hand and tighten as needed. Consider a WaterSense-labeled showerhead for water savings without sacrificing performance. If leaks occur, check the tape and connections. Regular cleaning prevents mineral buildup and maintains flow. For water-efficient options and installation details, visit the EPA WaterSense showerhead info.

15. Repairing a Loose Floorboard

15. Repairing a Loose Floorboard
A skilled hand carefully lifts a creaky floorboard, revealing the process of repairing worn wood flooring underneath. | Generated by Google Gemini

Loose floorboards can cause annoying squeaks and potential tripping hazards. Identify the affected boards by walking across the floor and listening for movement or noise. For hardwood, secure the board with finish nails or screws, then fill the holes with matching wood filler. For laminate or engineered floors, check for broken clips or shifting panels and follow manufacturer recommendations. Fill minor gaps with flexible filler or putty. If there’s significant movement or subfloor damage, professional evaluation may be needed. For detailed repair steps and tips for different flooring types, visit The Spruce.

Conclusion

Conclusion
A smiling homeowner proudly holds a well-organized tool kit, celebrating a successful DIY project in their bright living room. | Generated by Google Gemini

Mastering these fundamental repair skills empowers homeowners to handle everyday issues confidently, saving both time and money while enhancing home safety. Self-sufficiency reduces reliance on costly professionals and helps prevent small problems from escalating. By investing in ongoing learning and practicing safe DIY methods, you’ll maintain a healthier, more efficient living space. Embrace the satisfaction of tackling repairs yourself and continue building your knowledge. For more tips and resources on home maintenance, visit Family Handyman.

Advertisement